|
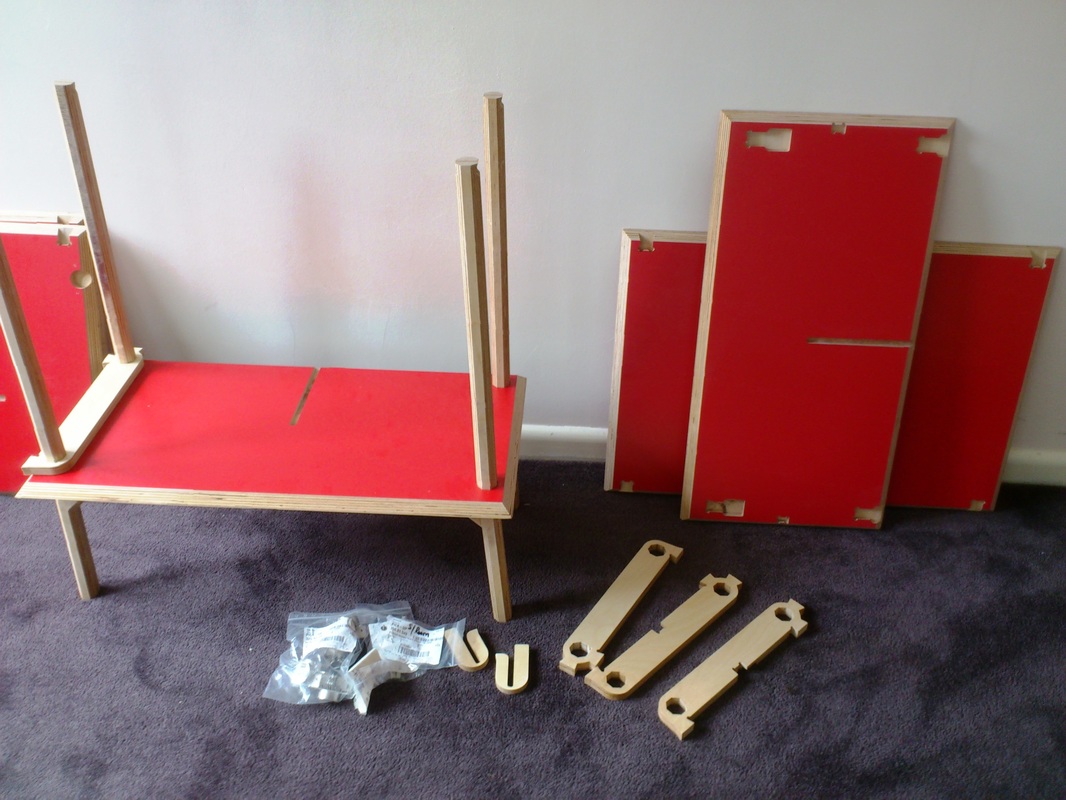
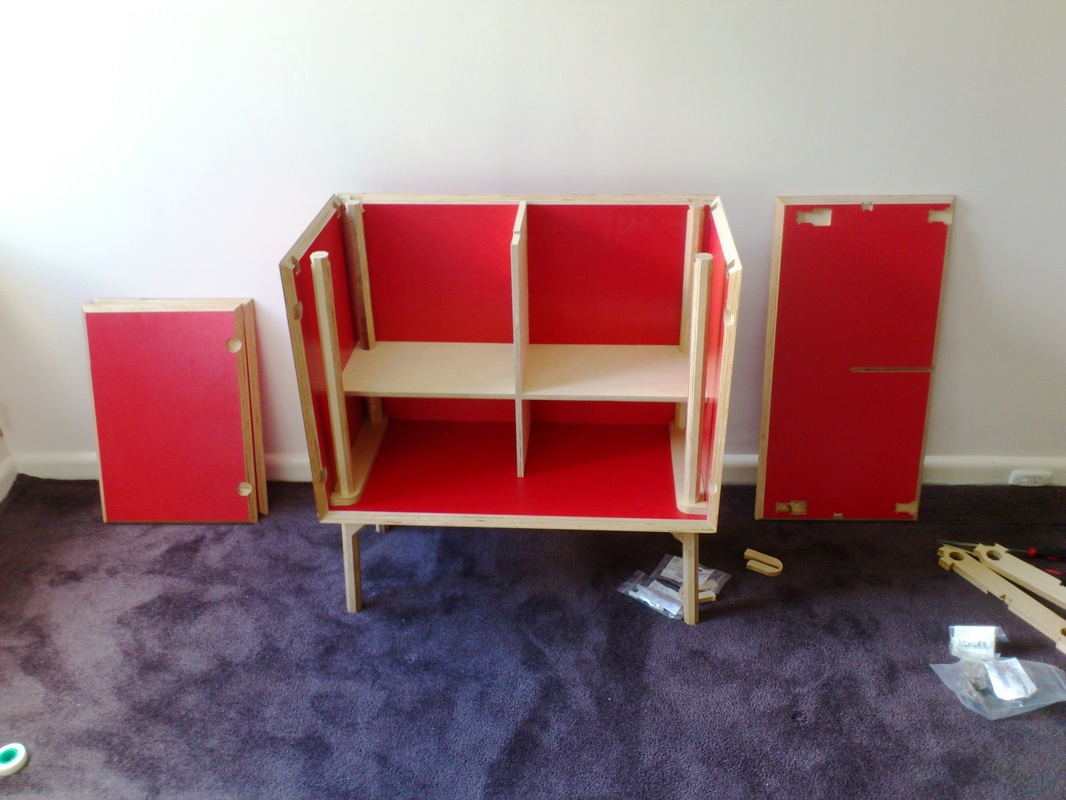
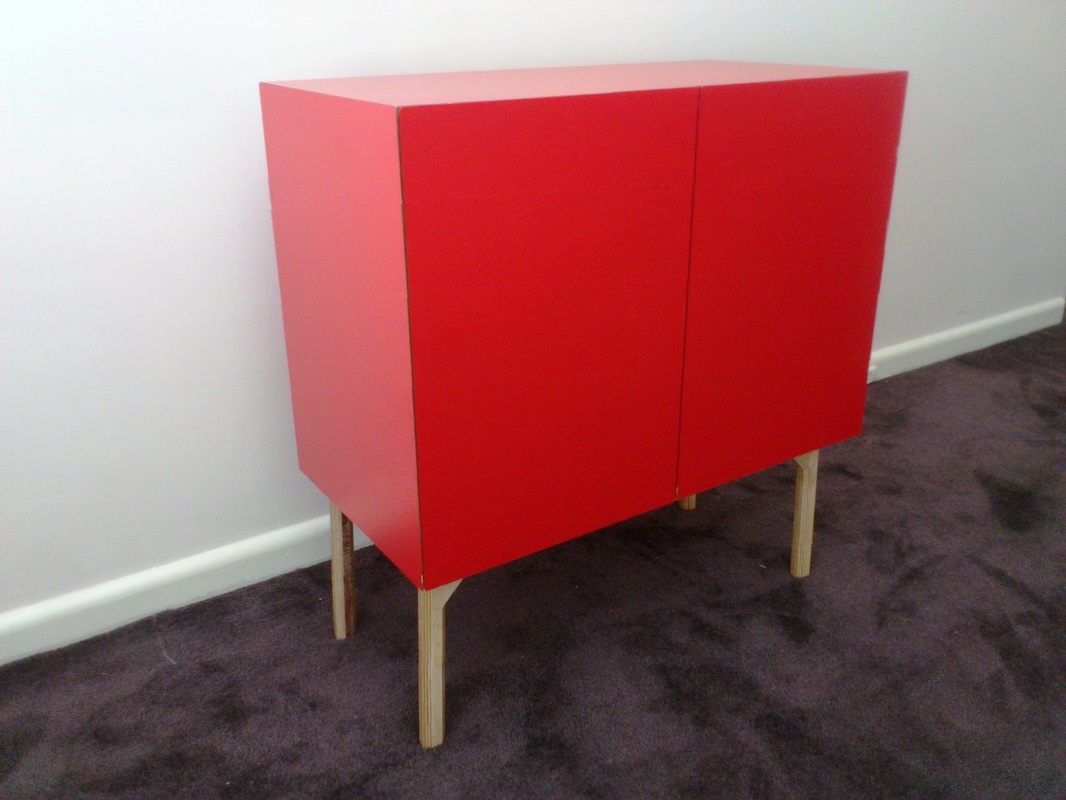
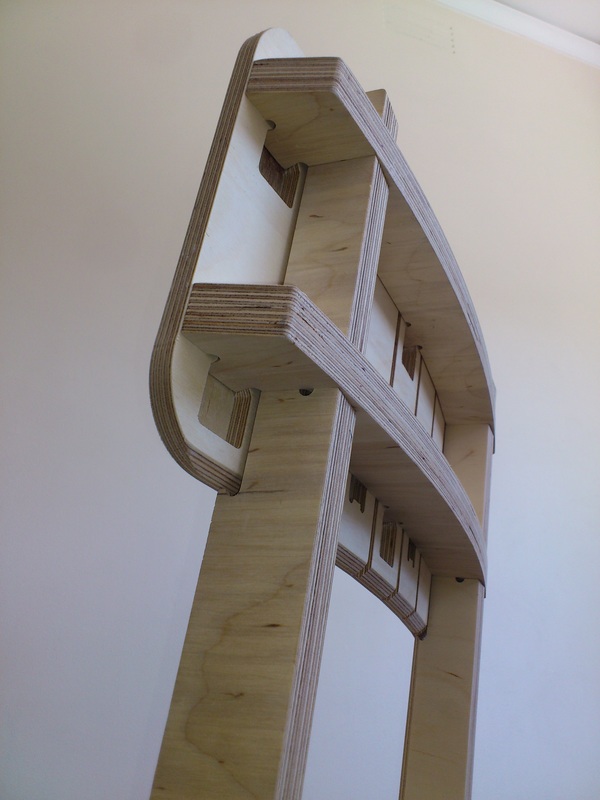
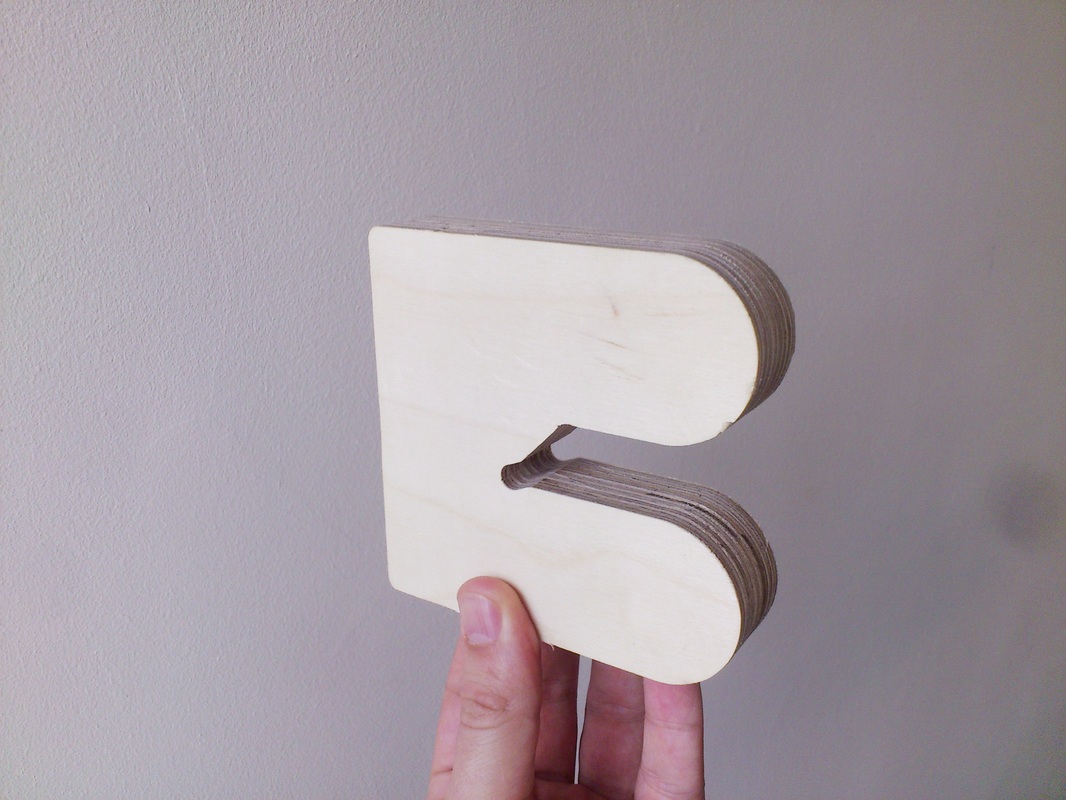
For every piece of furniture or object I have in mind to make using digital fabrication, I spend a lot of time thinking how the components will be assembled together. These components can be other pieces cut out of the same plywood sheet or externally-manufactured items like dowels, hinges, bolts, electrical cords etc. Some pieces of furniture have been designed to adhere the concept of not needing any external method of attaching pieces together like glue, nails, screws or bolts. With others, I have decided to base the design on the principle that each piece secures the previous piece during assembly. My cabinet is one example of this: This does mean of course that the last piece needs to be secured in some other way. You could chose a bolt for this purpose, which is what I did for my experimental dinner table for 2: If this bolt is unscrewed, you could slide out the small piece, and therefore enable the adjacent larger piece to slide out, and so on to disassemble this table one piece at a time: 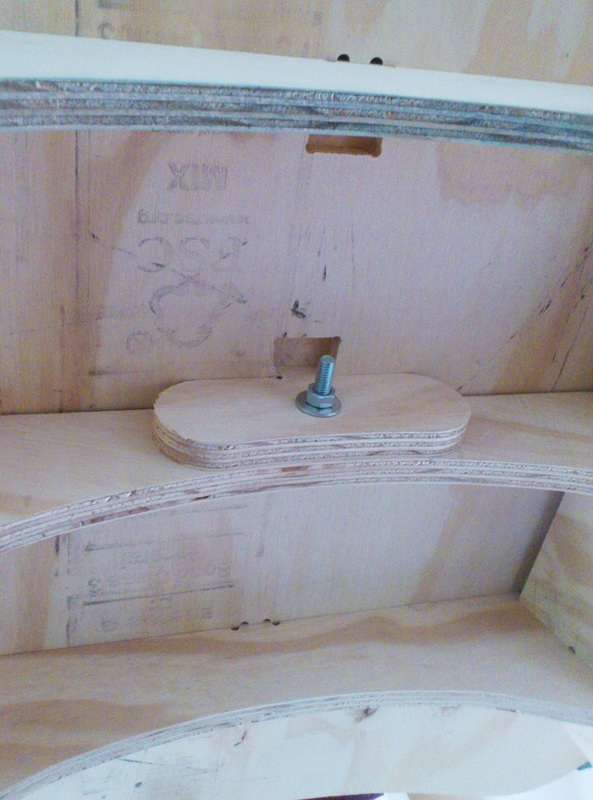 But going back to the cabinet: it cabinet has squeezable snap-inserted pieces - as I showed in a previous post. These pieces need to be squeeze to be inserted but they then remain in place and prevent the last piece of the cabinet (the top) from moving in the only direction possible (forwards), and at the same time preventing every other piece from moving in any direction. 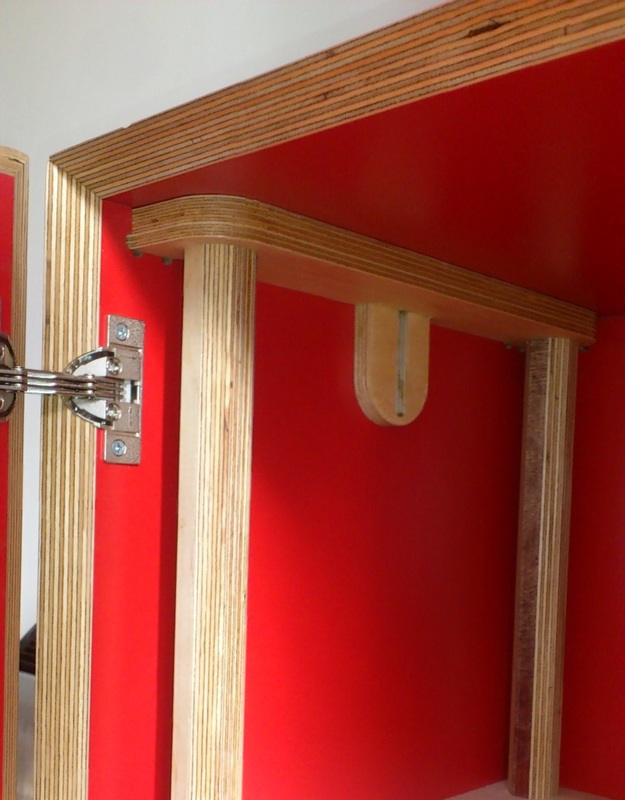 Despite basing the assembly on this concept, which avoids screws or bolts, the cabinet includes hinges and door catches, for which screws are necessary to attach them to the cabinet. I chose these special hinges from Hafele: 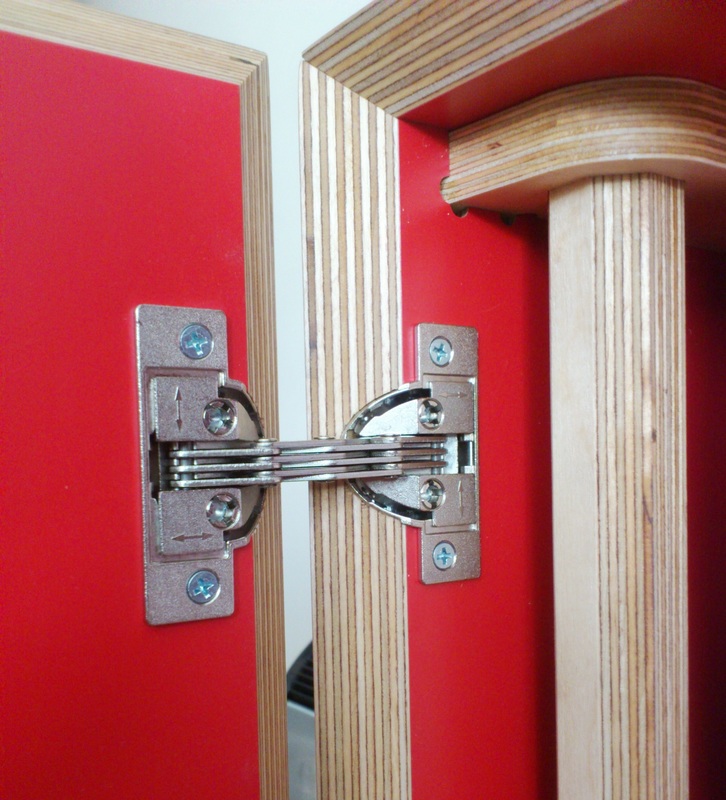 I tried to include the cavities and pre-drill holes I needed for these as part of the CNC routing. This needed me to read the technical specification from Hafele about the hinges and the magnetic door catches. Despite my experience in understanding and drawing technical diagrams, I still found it hard going to ensure the cavities and pre-drill holes for these were in the right position. I wanted to ensure that the cabinet doors left a 2mm gap all the way around between them and the cabinet carcass, so that meant I had to apply an offset to the dimensions shown in the Hafele diagram. In the end, I got the milling for the hinges correct but not for the door catches. I had to screw those in manually. 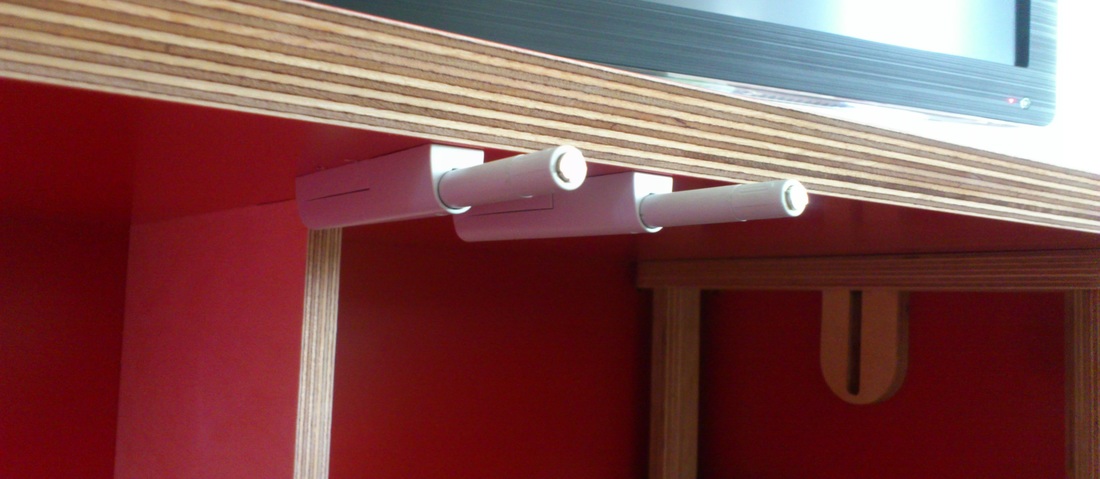 I usually brace myself each time I have a sheet of plywood milled for the possibility that I have made a mistake, and this was one such case. I ended up having to position and screw them into the carcass by hand and the result was that the right door rests 1 mm further out of the carcass edge than its leftward neighbour. Oh well. One of the first pieces I drew in CAD was a queen size bed frame (based on the idea from Spore) which used an additional assembly method which worked as planned but was more difficult to actually assemble than I thought. 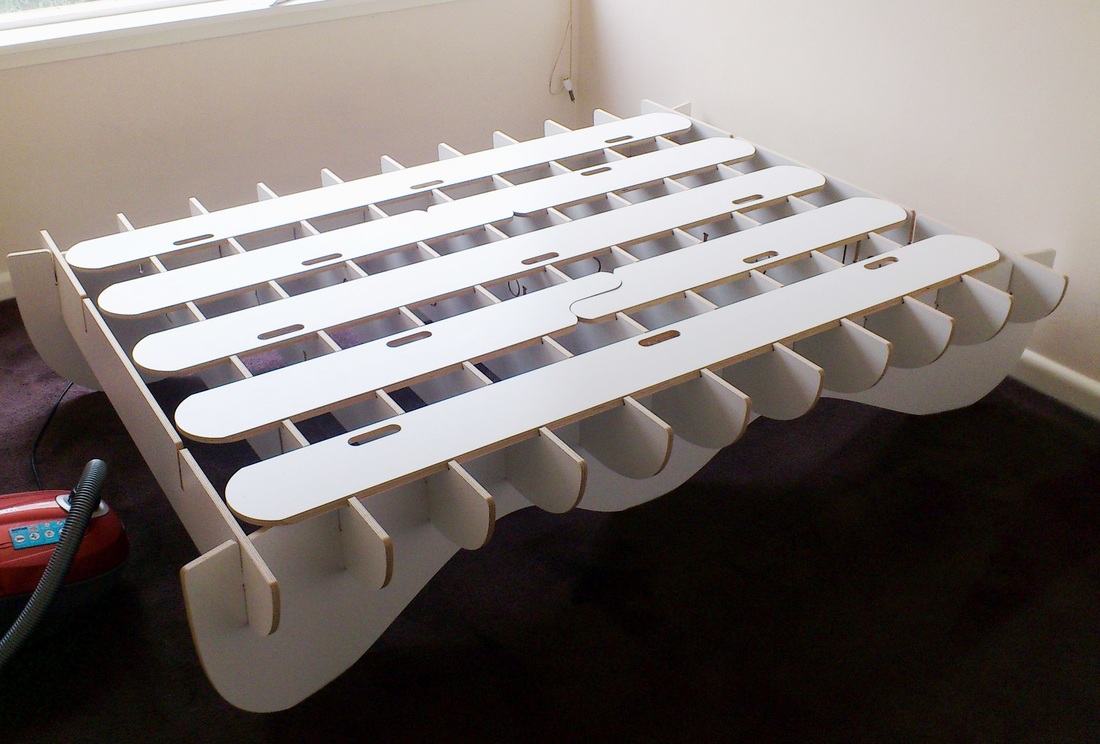 The slats of this bed had bevelled edges on their long sides and the base was cut in such a way that it would allow movement of these slats but prevent them from being sucked upwards when the mattress is lifted: 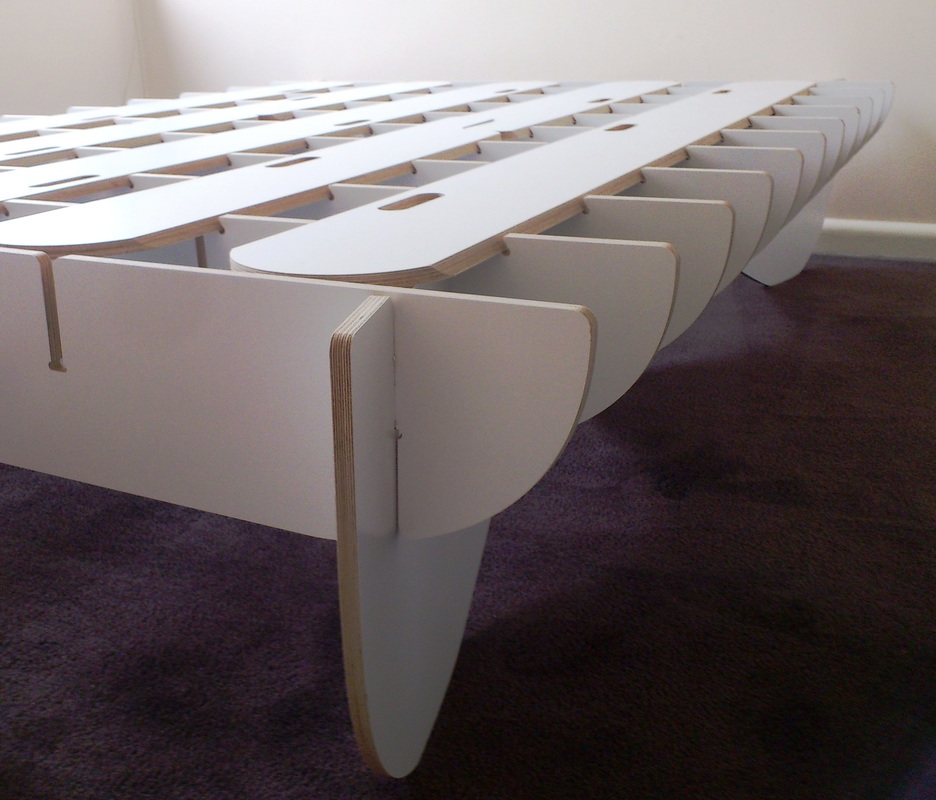 One difficulty with assembling this was that the bevelled edges were sharp enough to cut my fingers as I was handling them. I have since learned to avoid milling a bevelled edge all the way down wherever possible. When this isn’t feasible, I’ve learned to handle them with gloves and use sandpaper as soon as possible to round the edge slightly. The main difficulty with assembling this though relates to the way the slats needed to be inserted; I needed the bedroom to be longer than the mattress plus the length of the slats because they are slid into place small edge first. I had to turn the frame towards the bedroom door and begin with the slats poking out through the door. One assembly difficulty I hadn't thought of was how difficult it was going to be to simultaneously bend some kerfed plywood pieces and slide them onto a frame with dovetail catches. There was some serious hammering going on with these: Assembling these meant I needed to use scrap wood as a buffer between the hammer and the part I'm hammering, and that gave me a handy new idea. A general notion, I should include, amongst all the pieces in a plywood sheet that is to be milled, objects which are just to be used as construction/assembly aids. These aren’t part of the finished product but make assembly easier. One example is an object which enabled me to hammer the pieces of the cabinet into position easily while preserving their bevelled edges. Another example is a piece which holds the two sides of the octagonal legs I’ve used for my cabinet and coffee table together while they are being glued: By the way, I've not shown my coffee table in my posts yet, so here it is. Note the legs - they might look round and branch-like, but they actually have 8 faces (octagonal). I might explain more about the issues with this kind of framework in a future post. 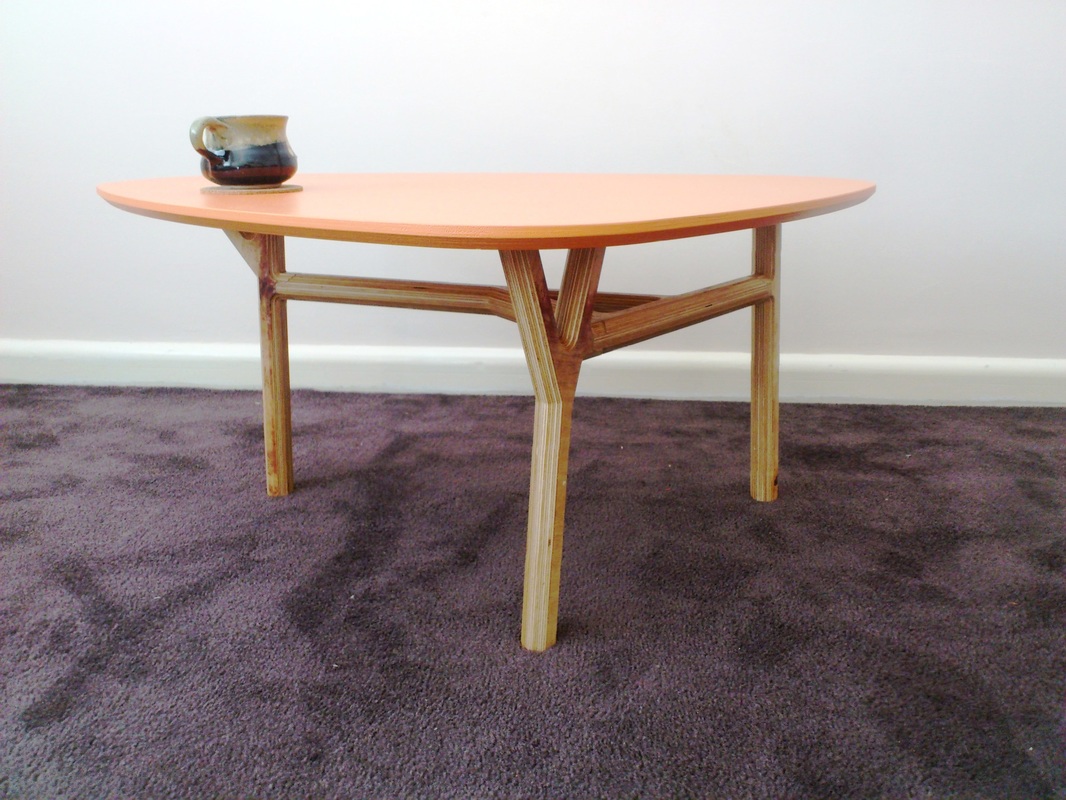
Comments
|
AuthorI'm Nicolaas, a software engineer with a creative streak. ArchivesCategories
All
|


 RSS Feed